TRON (1982) Cosplay — Kevin Flynn's Unitard
April 16, 2017: Initial Digitizing Begins
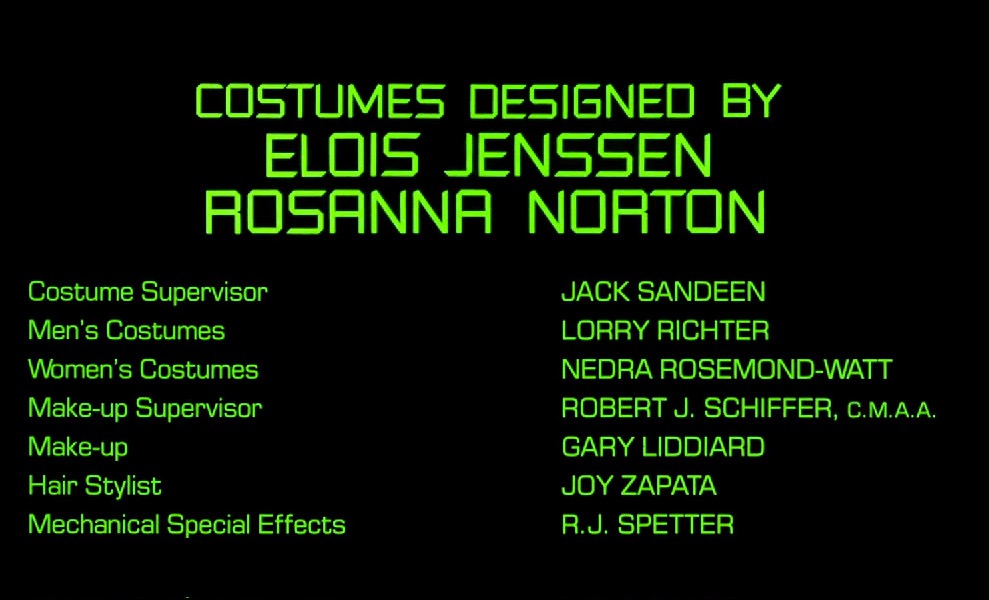
A special thank you to Rosanna Norton (here and here) for pointing me in the right direction for working on the unitard! Rosanna is a costume designer who was nominated (along with Elois Jenssen, deceased) for Best Costumes during the 55th Academy Awards for her work on TRON.
I emailed Rosanna to ask her about how they did the unitard designs. She said "We silkscreened the leotards in the Disney paint shop. I cut the screens myself and we had to stretch the leotards while we printed them."
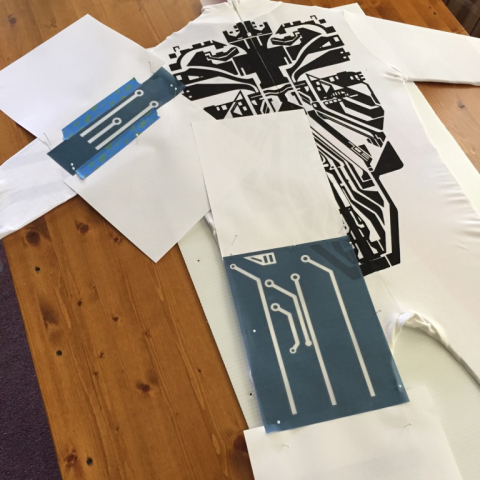
I've never screen printed anything before, but after watching several YouTube videos on the subject, I think the best way will be to use emulsion sheets, which allow you to design your templates in any graphics program. Essentially, you take your digital design, print it onto a transparency, then place that transparency over an emulsion sheet and expose to light for a short time. The resulting emulsion sheet can then be ink-screened onto the garment.
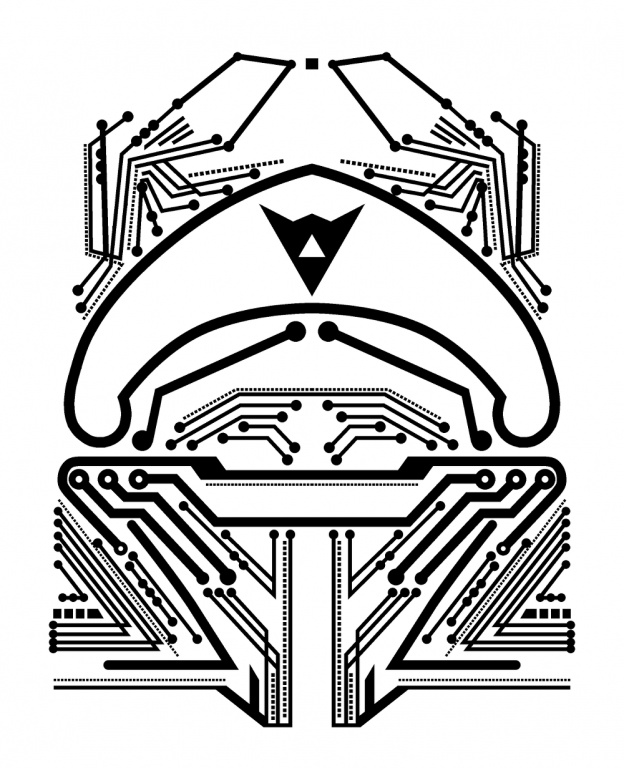
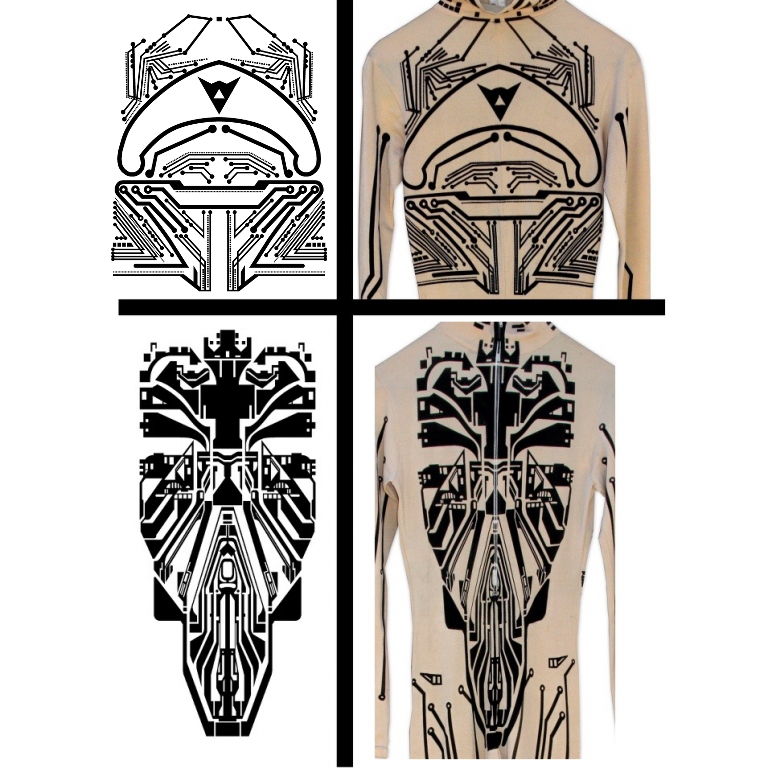
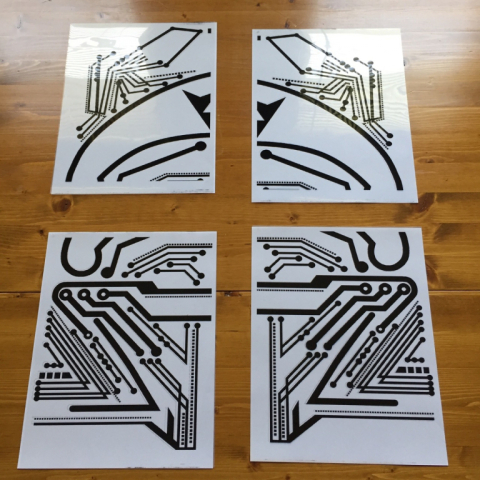
I'm using GIMP and photos of the original prop costume (Nate Sanders Auctions) to recreate the unitard's line art. Using the paths tool, I started having fun with how the lines looked "blinky" - and even blue (as GIMP highlights path elements in blue) - as if from some control panel that might have been in the movie.
Below is my video mixed with Wendy Carlos' Water, Music, and Tronaction from the TRON 1982 soundtrack.
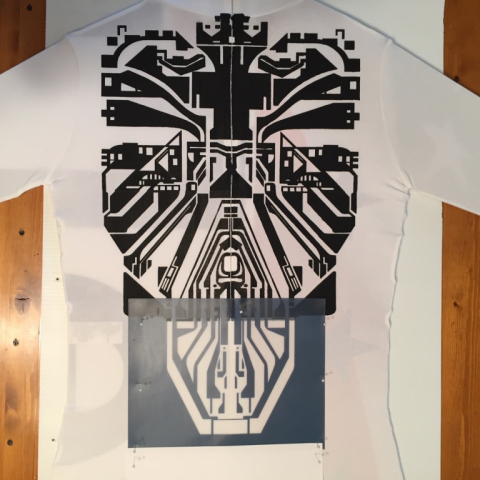
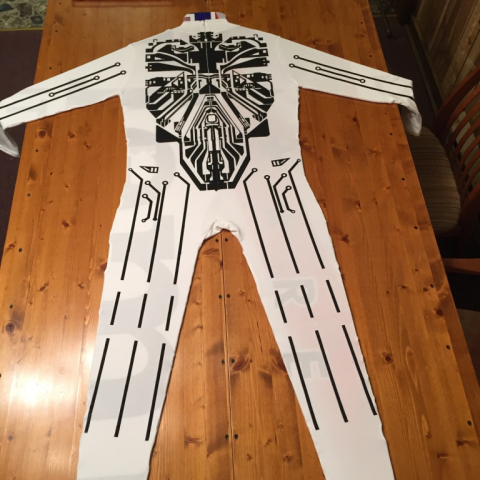
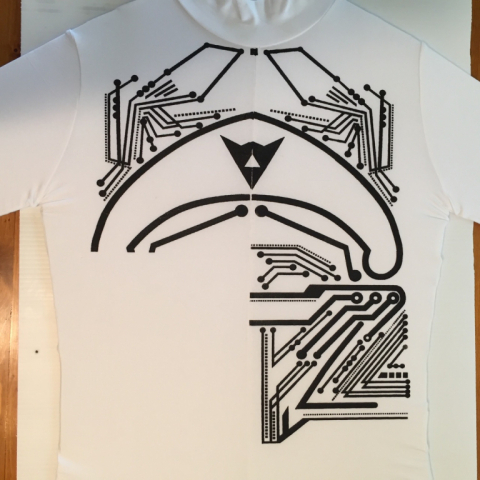
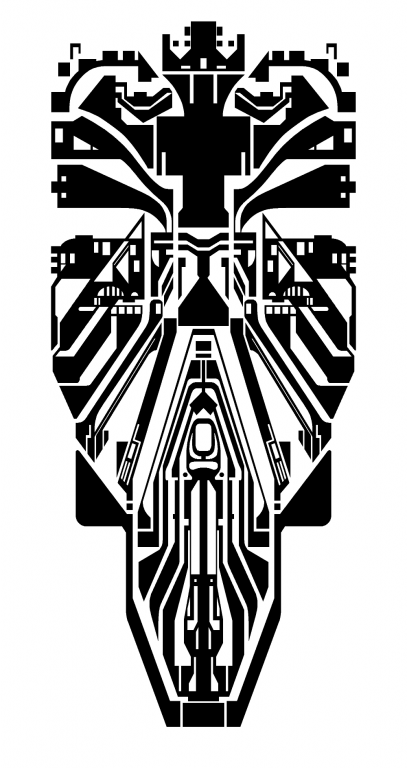
May 1, 2017: Front and Rear Torso Digitizing Complete
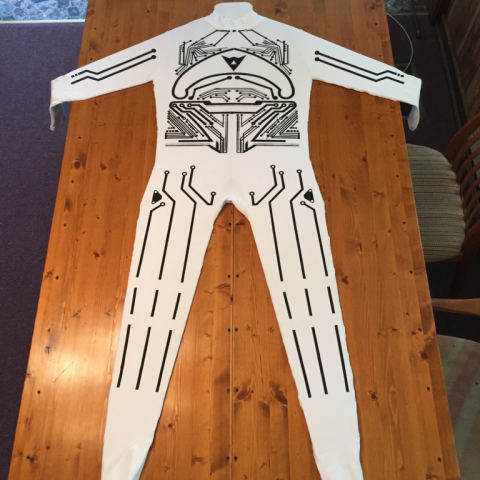
It was a lot of work and a lot of fun digitizing the front and rear torso portions from photos of the original Kevin Flynn prop costume unitard. I am very pleased with the results! Next will be the arms, legs, and neck, which should be relatively easier. Almost time to order a blank unitard and begin mapping the imagery onto the garment. Emulsion screens won't be far behind.
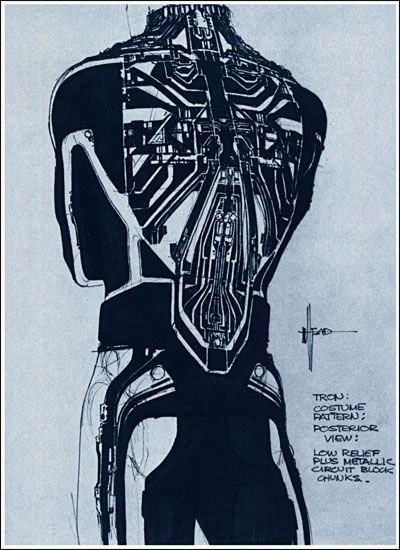
35 Original Concept Art Made for TRON
And another video of me having fun with GIMP and digitizing circles onto the front pattern, along with Theme From TRON:
July 10, 2017
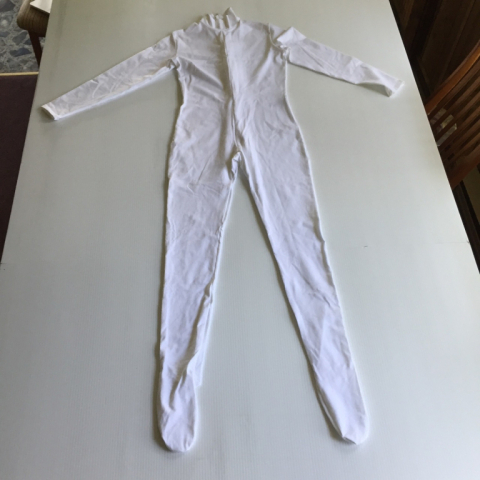
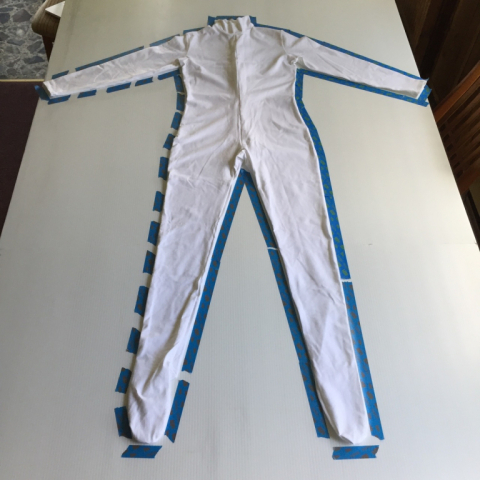
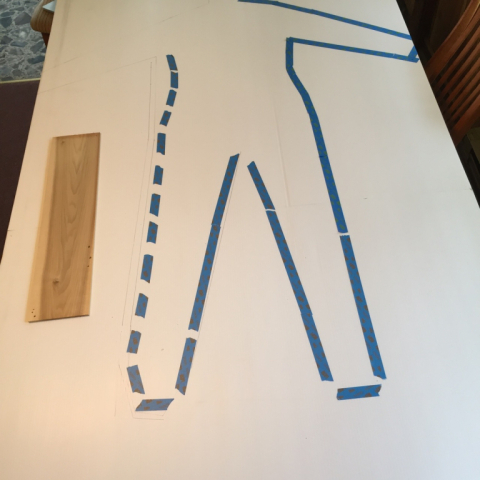
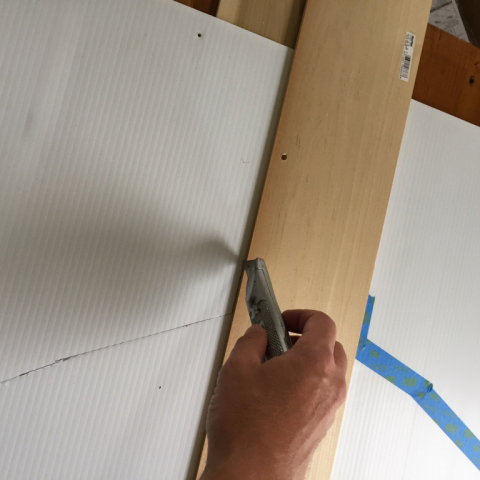
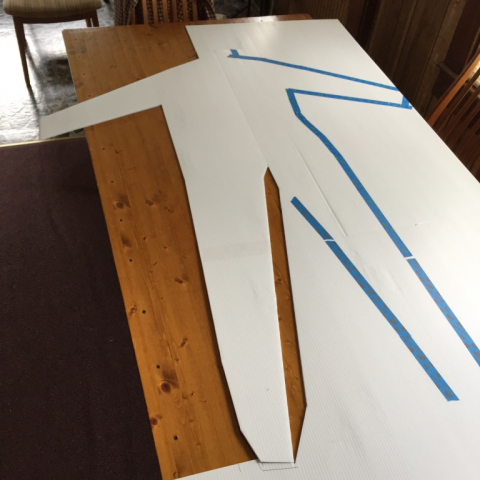
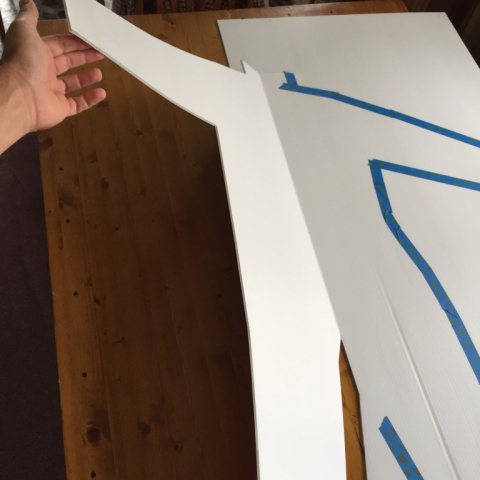
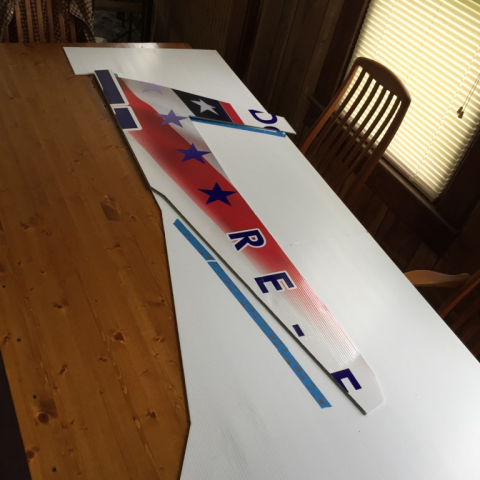
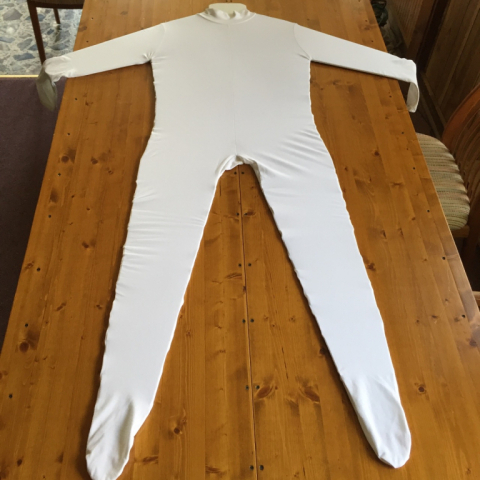
I obtained 2 unitards from GrishkoShop.com. They are an excellent match of the original; footed, turtleneck, and seams are the same. For stretching the unitard for screen printing, I'm using an old 8'x4' corrugated vinyl sign I obtained from a shop as the material from which to cut a rigid board. I will then slip the unitard onto this board, then screen print onto it. Here are some pictures of the board-making process:

July 12, 2017
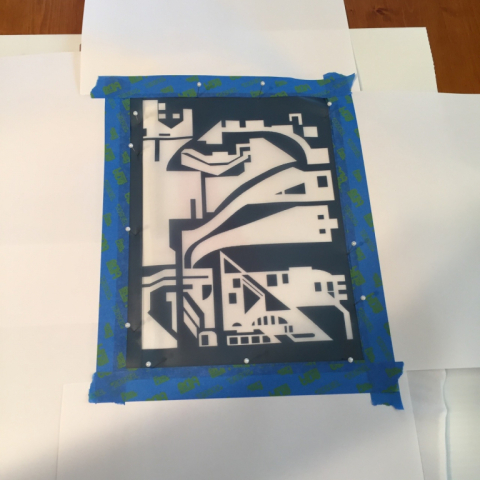
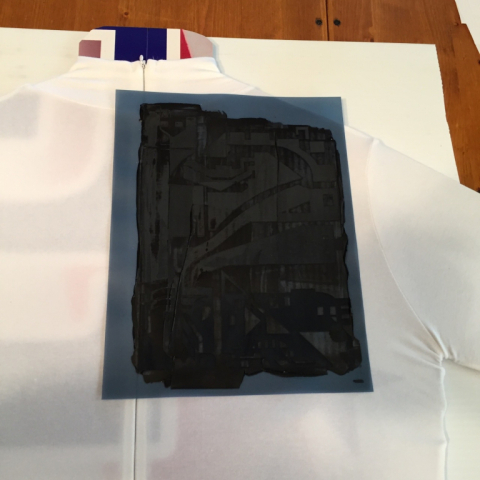
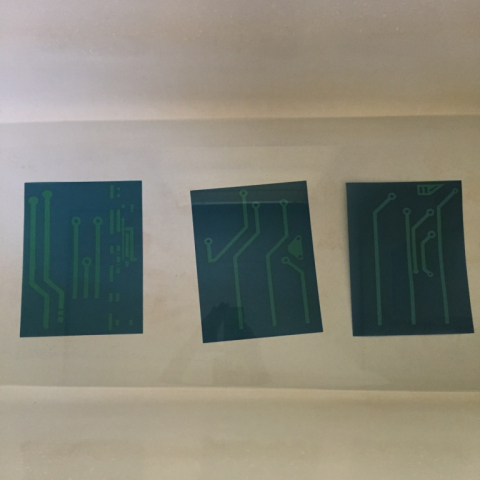
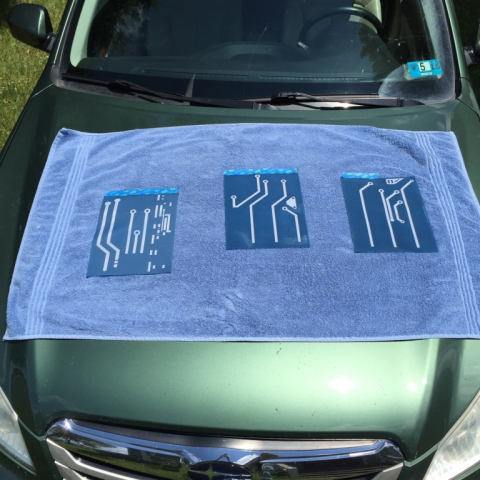
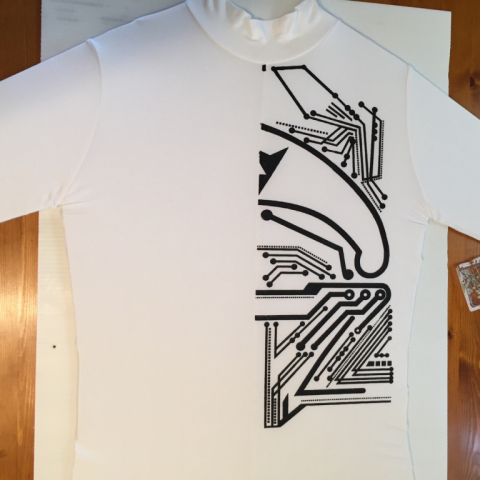
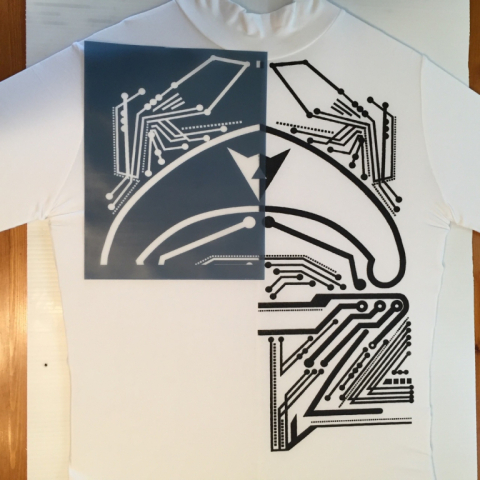
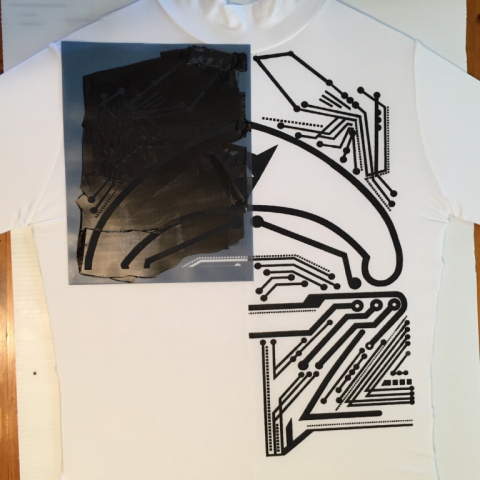
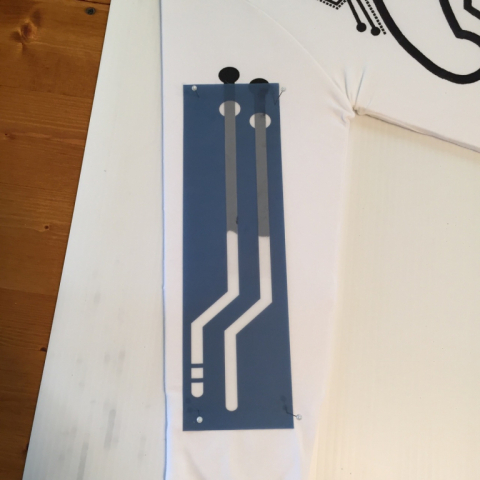
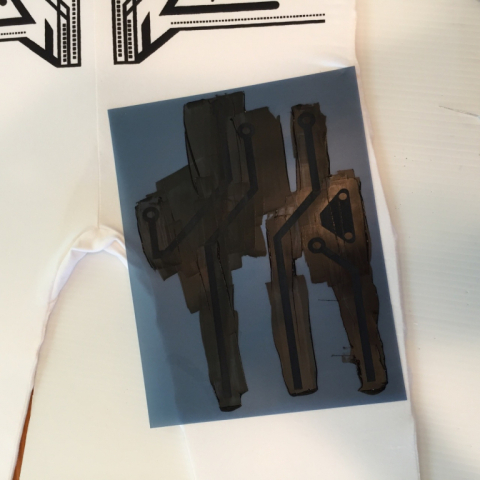
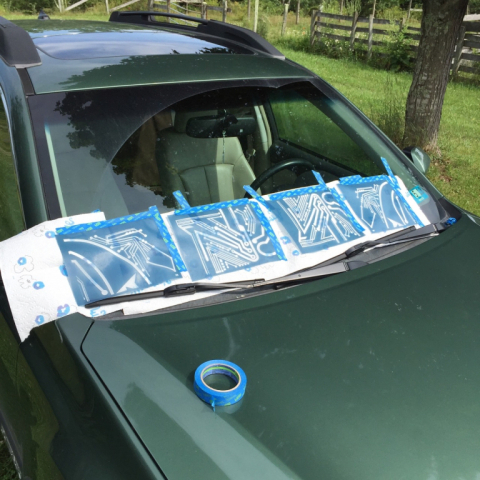
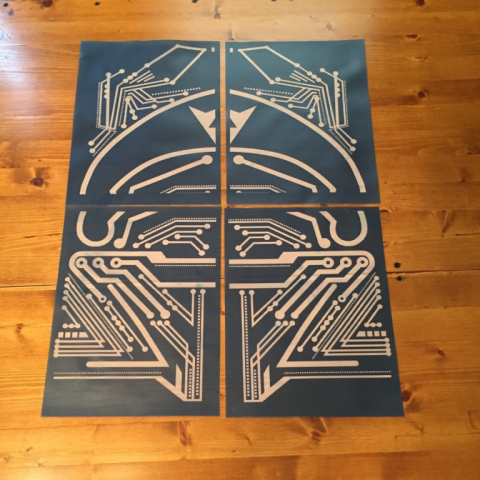
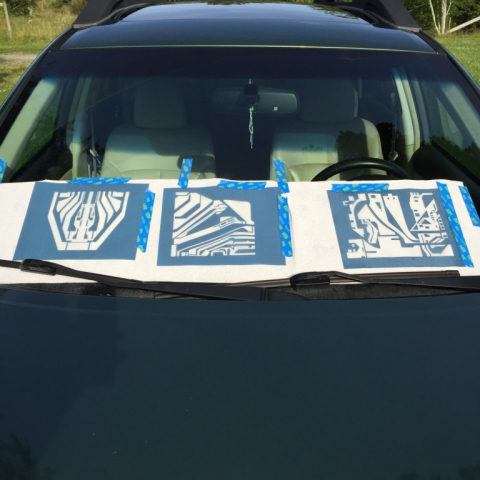
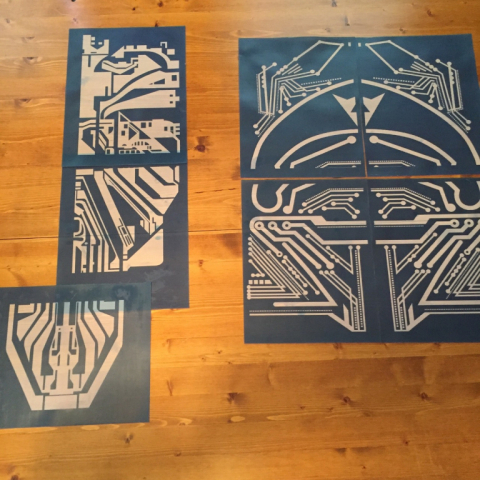
With some sunny weather available for exposing the emulsion silk screens from ezscreenprint.com, I was able to complete the silk screens for the front and rear torso graphics. The process is to print the positive in pure black onto transparencies. Then lay an emulsion screen onto a transparency inside ezscreenprint's exposure glass and backing board. Expose to direct sunlight for 1 minute, then soak in water for 15 minutes. Rinse, brush off residue, and bake in the sun for 10 minutes. Here are the pictures I took of this process:


July 19, 2017
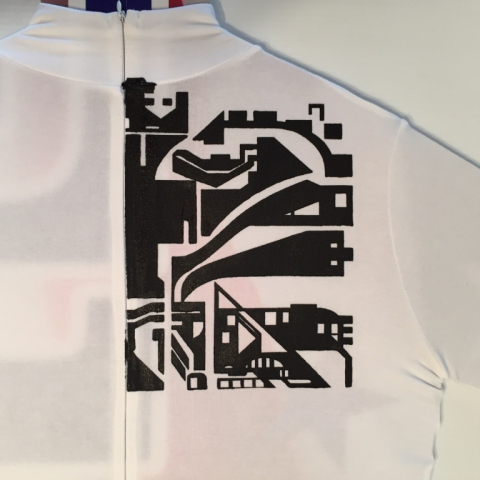
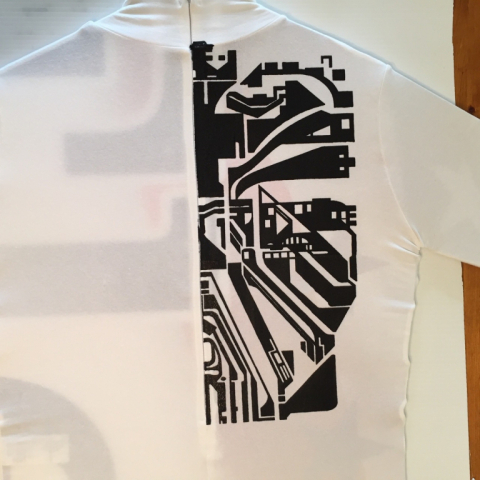
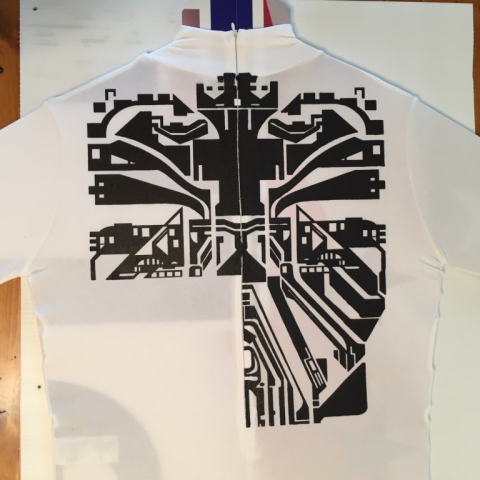
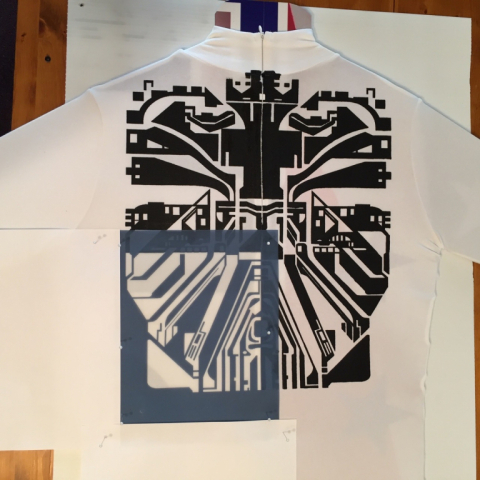
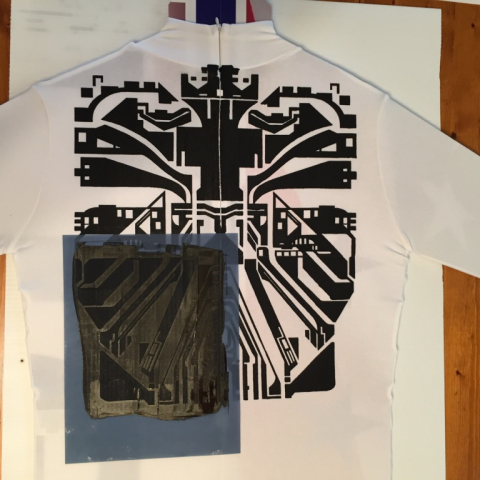
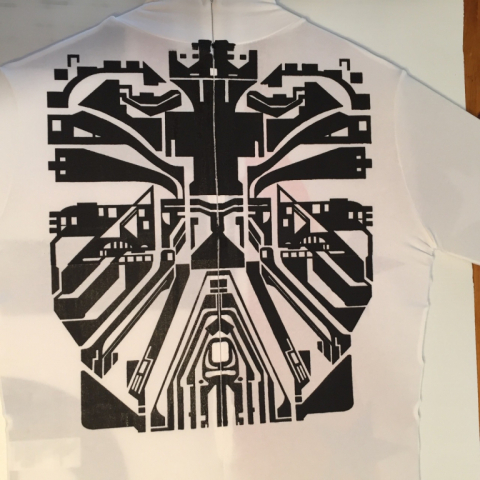
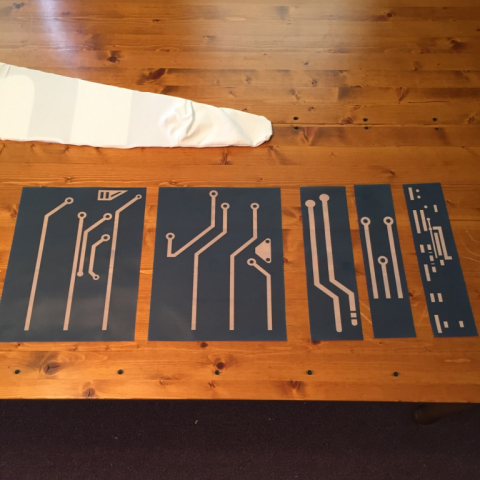
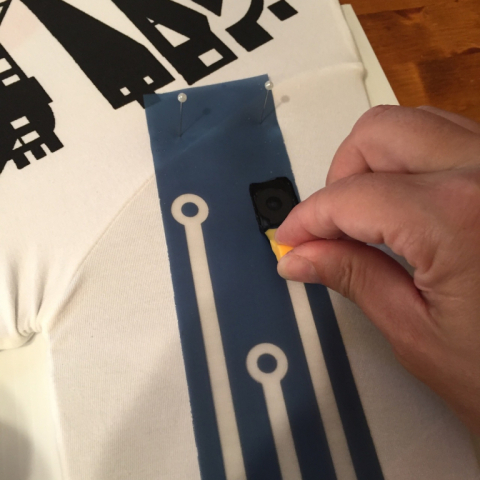
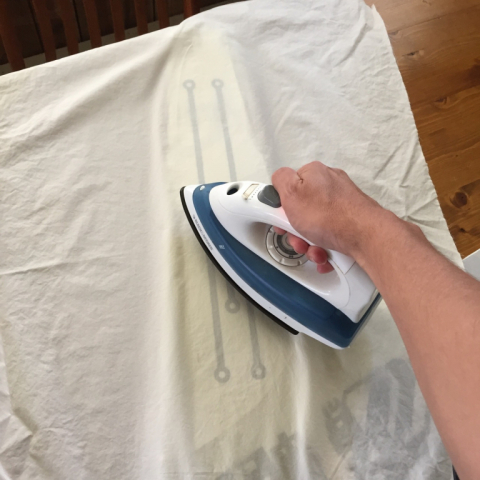
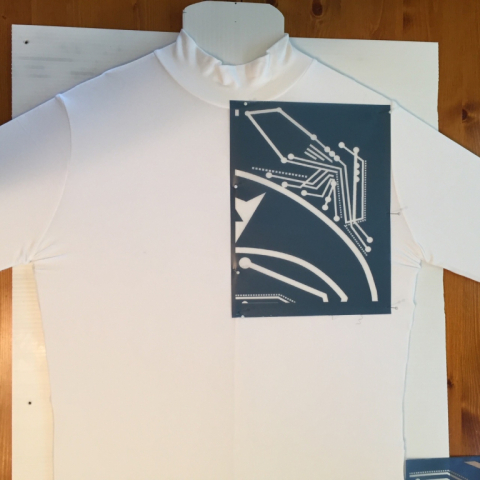
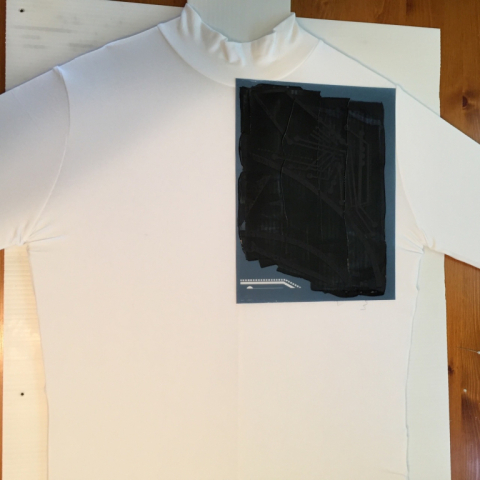
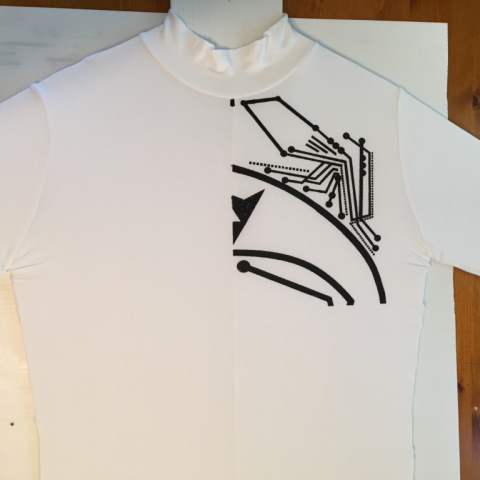
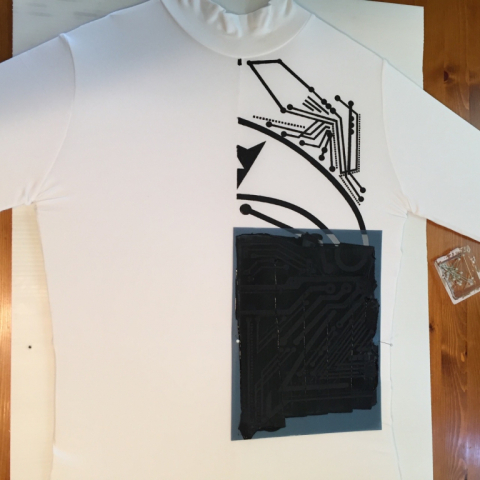
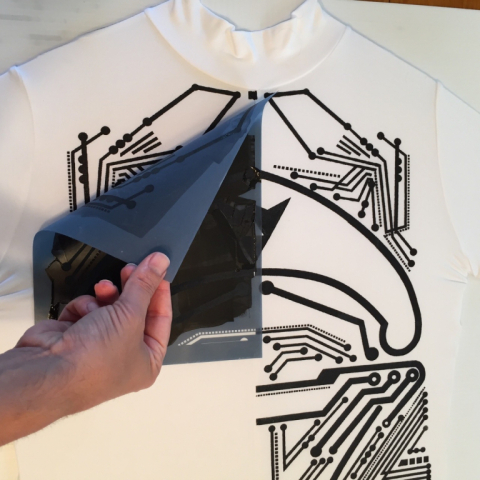
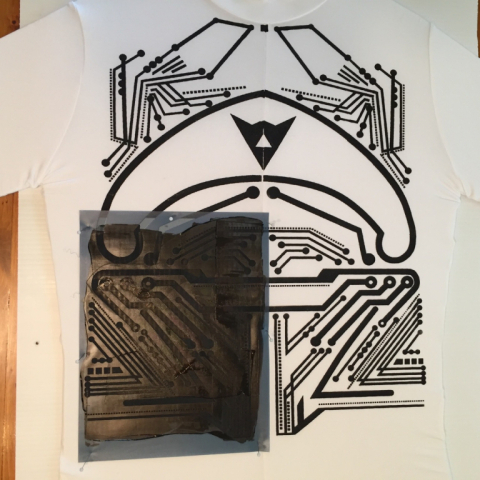
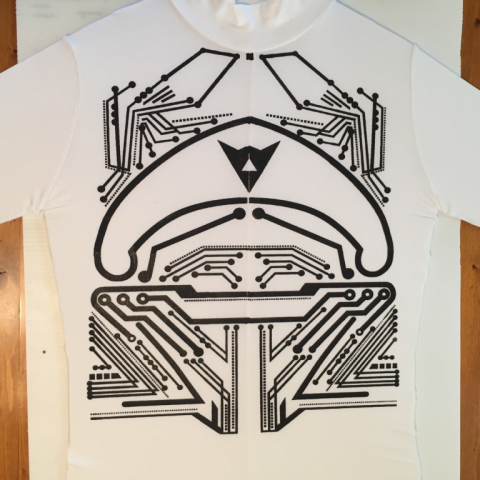
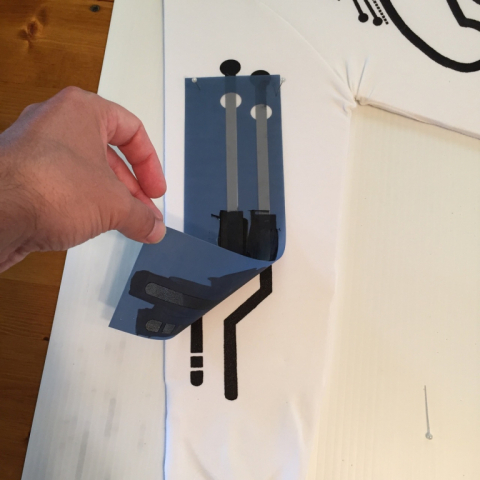
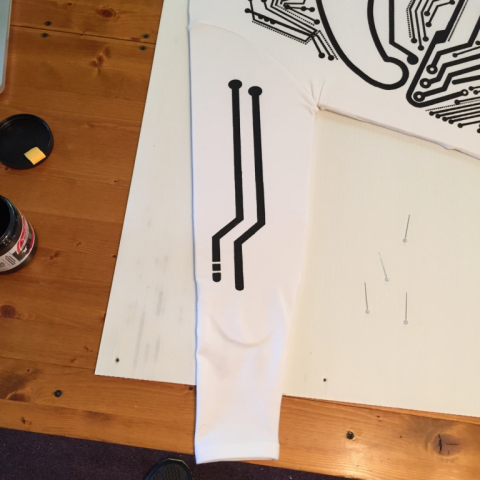
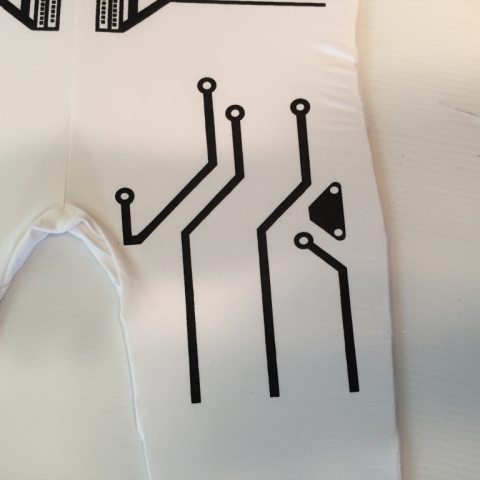
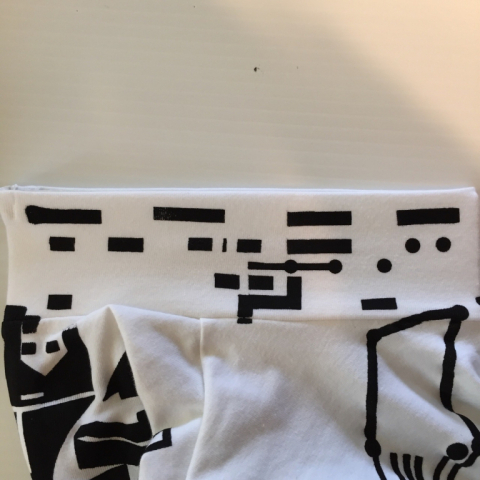
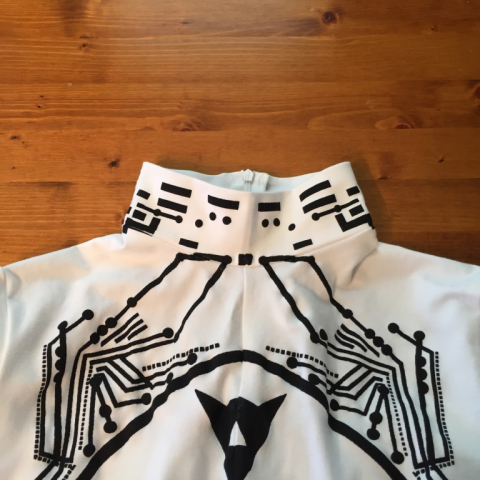
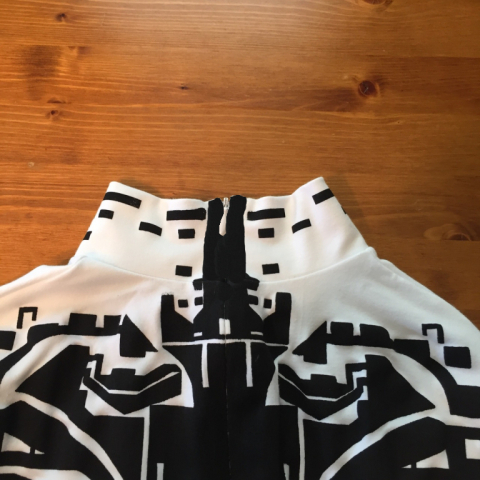
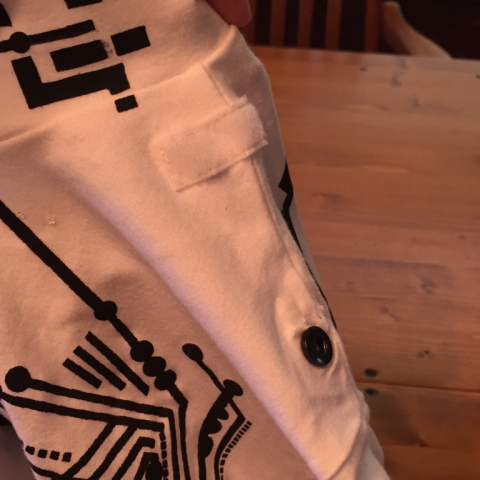
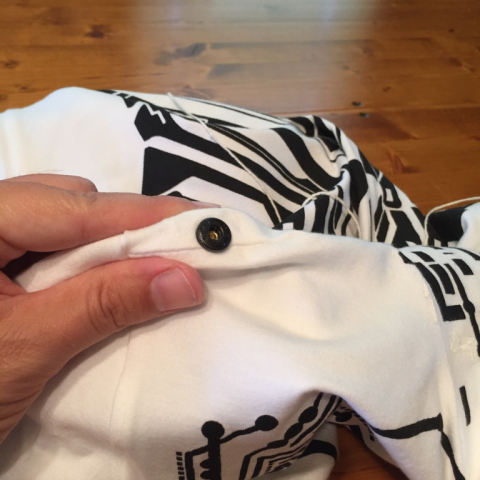
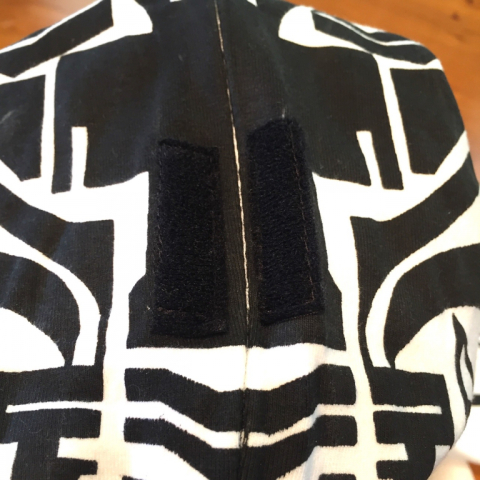
The unitard is complete (actually, I made 2 of them). Below are pictures showing the process of creating the remaining silk screens, and how to pin them to the garment and vinyl backing board for inking. This is a laborious process, requiring precise lining-up of the 8.5" x 11" stencils to create a continuous, larger image. After inking, a clothes iron is used to heat-set the ink so it can be washed. With the inking done, I riveted in the receiving shoulder snaps for the shoulder cup tabs, and I also sewed in the receiving Velcro for the tunic's shoulder; to keep it from slipping down. All this is just like the costume designers did for the prop costumes in the movie. Lastly, as a custom touch to show off the identity disc, I sewed in 2 pieces of Velcro between the shoulder blades - 1 each side of zipper - to receive the identity disc's magnetic mounting block. This way, I can remove and attach the identity disc at leisure for added effect.